")
")
A graphic user interface to administrate your databases requires Apache und PHP MySQL This article shows you how to install it.
Install Apache
Apache is insatlled quickly
sudo apt-get -y install apache2Immediately after the install, you can check if it was a success. Just type localhost into the address bar of your browser. You should now see the start page of apache.

Install PHP
PHP can be insatlled as easily. Please make sure to check the version of your operating system and choose the appropriate PHP version accordingly.
Stretch
sudo apt-get install -t stretch php7.0 php7.0-curl php7.0-gd php7.0-fpm php7.0-cli php7.0-opcache php7.0-json php7.0-mbstring php7.0-xml php7.0-zip php7.0-mysql -ysudo apt-get install -t stretch libapache2-mod-php7.0 -yBuster
sudo apt-get -t buster -y install php7.3 php7.3-mysql php7.3-curl php7.3-gd php7.3-zip php7.3-fpm php7.3-cli php7.3-opcache php7.3-json php7.3-mbstring php7.3-xml sudo apt-get install -t buster libapache2-mod-php7.3To check the success of that insatll do we need to create a small test file. First start an editor of your choice. I will be using nano for the example.
sudo nano /var/www/html/test.phpThe PHP file will give a little text message followed by information about your specific PHP installation
<?php echo "PHP is running </br>"; phpinfo(); ?>After restarting you system, navigate to your browser and enter localhost/test.php to the address bar. You should see something like that:

Install PHPMyAdmin
Last thing is to install the user interface PHPMyAdmin.
sudo apt-get install -t stretch phpmyadmin -yChoose apche2 in the dialog box that opens. Afterwards you follow the instructions on the screen.
A final modification to the apache config needs to be done
sudo nano /etc/apache2/apache2.confAdd the shown line at the end of the file.

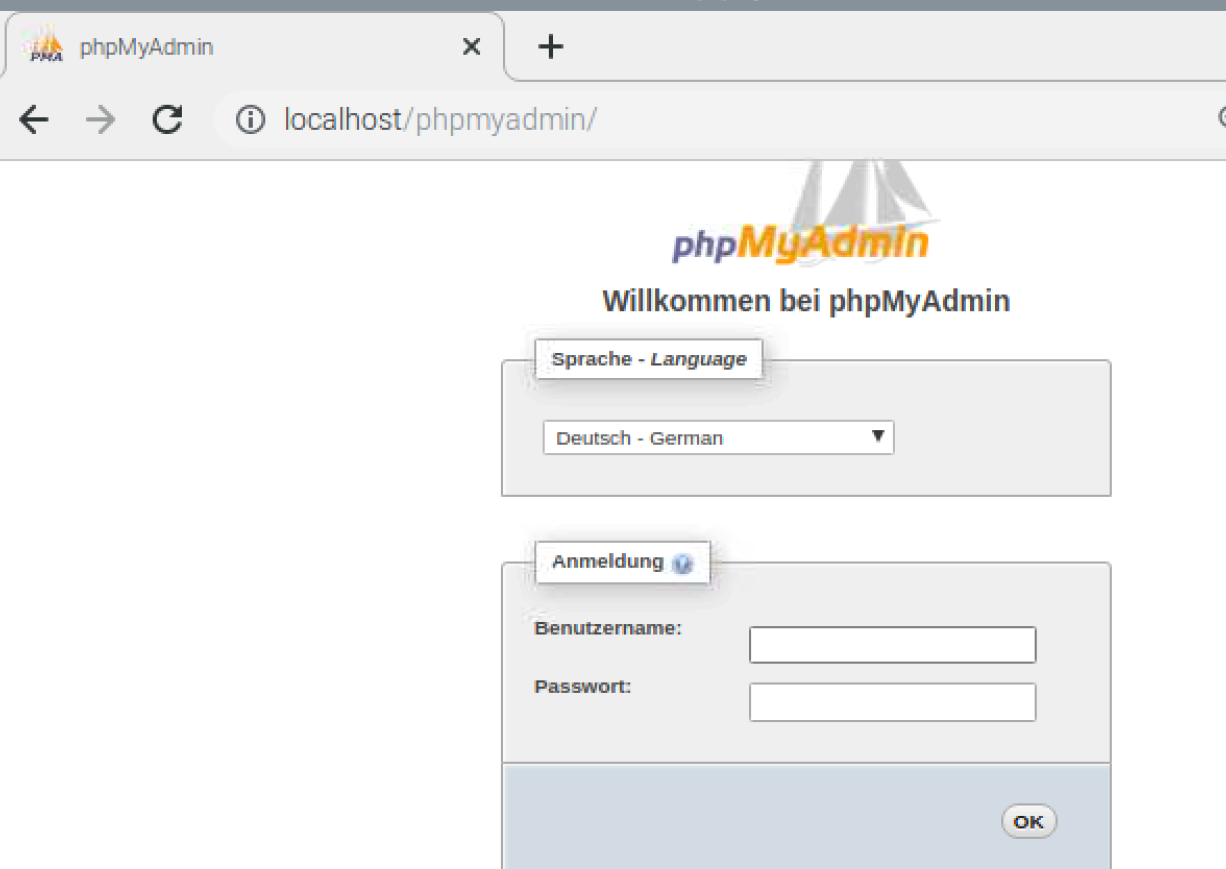
Now, to access the interface. Go to your browser and type localhost/phpmyadmin into the address bar. From there use the user and password you created.